
MPO connectors are the backbone of high-density fiber trunks and trunks carry huge amounts of traffic. A single contaminated end face can cause intermittent loss, failed tests, or large outages. These 7 concise, field-tested tips give you an inspect-first mindset, practical cleaning techniques, tool choices, and documentation steps that maximize uptime and extend the usable life of your MPO links.
Tip 1 — Always inspect before cleaning
Start with inspection — not cleaning. A visual/automated inspection tells you whether cleaning is necessary and prevents introducing new contamination or scratches.
Actionable steps
-
Use an MPO-capable video microscope or automated analyzer covering the full ferrule and guide pins.
-
Field minimum: 6.4 mm × 2.5 mm field of view for multi-fiber arrays; use an adapter tip matching APC/PC/flat.
-
Inspect all fibers, the ferrule face, guide pins and pin holes. Follow IEC 61300-3-35 zone checks (core → cladding → adhesive → ferrule).
-
Record pass/fail and capture images for critical links.
Tip 2 — Use wet→dry only when dry cleaning fails
Wet-to-dry removes oils and stubborn residue that dry methods can miss — but it must be done carefully.
When to use
-
Use for heavily contaminated 8–12-fiber MPOs when dry cleaning (cassette/click) fails. Avoid for very high fiber counts (≥16) unless the tool is designed for it.
Step-by-step
1.Inspect.
2.Damp-en a lint-free, antistatic wipe or foam swab with a single drop of approved fiber solvent (>99% IPA).
3.Straight-line wipe from wet→dry. For MPO ferrules use a moistened foam swab, rotate gently inside the ferrule, then follow with a dry swab.
4.Re-inspect. Repeat max 1–2 cycles; if still dirty, replace the connector.
Precautions
-
Never oversaturate wipes or swabs.
-
Dry completely before mating.
-
Never blow on end faces — it can add moisture and static.
Tip 3 — Pick the right cleaning tool for the job
Matching tool to connector type & fiber count reduces risk and increases cleaning success.
Tool guide
-
Cassette cleaners (reel type): Great for high-density panels and female MPOs; use grooved cassettes for male MPOs with pins.
-
One-push click cleaners: Fast, portable — one click = one fresh cleaning region; ideal for field ops.
-
Lint-free foam swabs / sticks: Best for ferrule interiors and recessed ferrules. Use single-use swabs only.
-
Approved solvents & wipes: >99% IPA on lint-free wipes; optical-grade products only.
-
Compressed dry air: Use sparingly to remove loose particles before wet cleaning (do not use canned air with propellants).
Best practice
Inspect → tool selection → single-use cleaning → re-inspect.

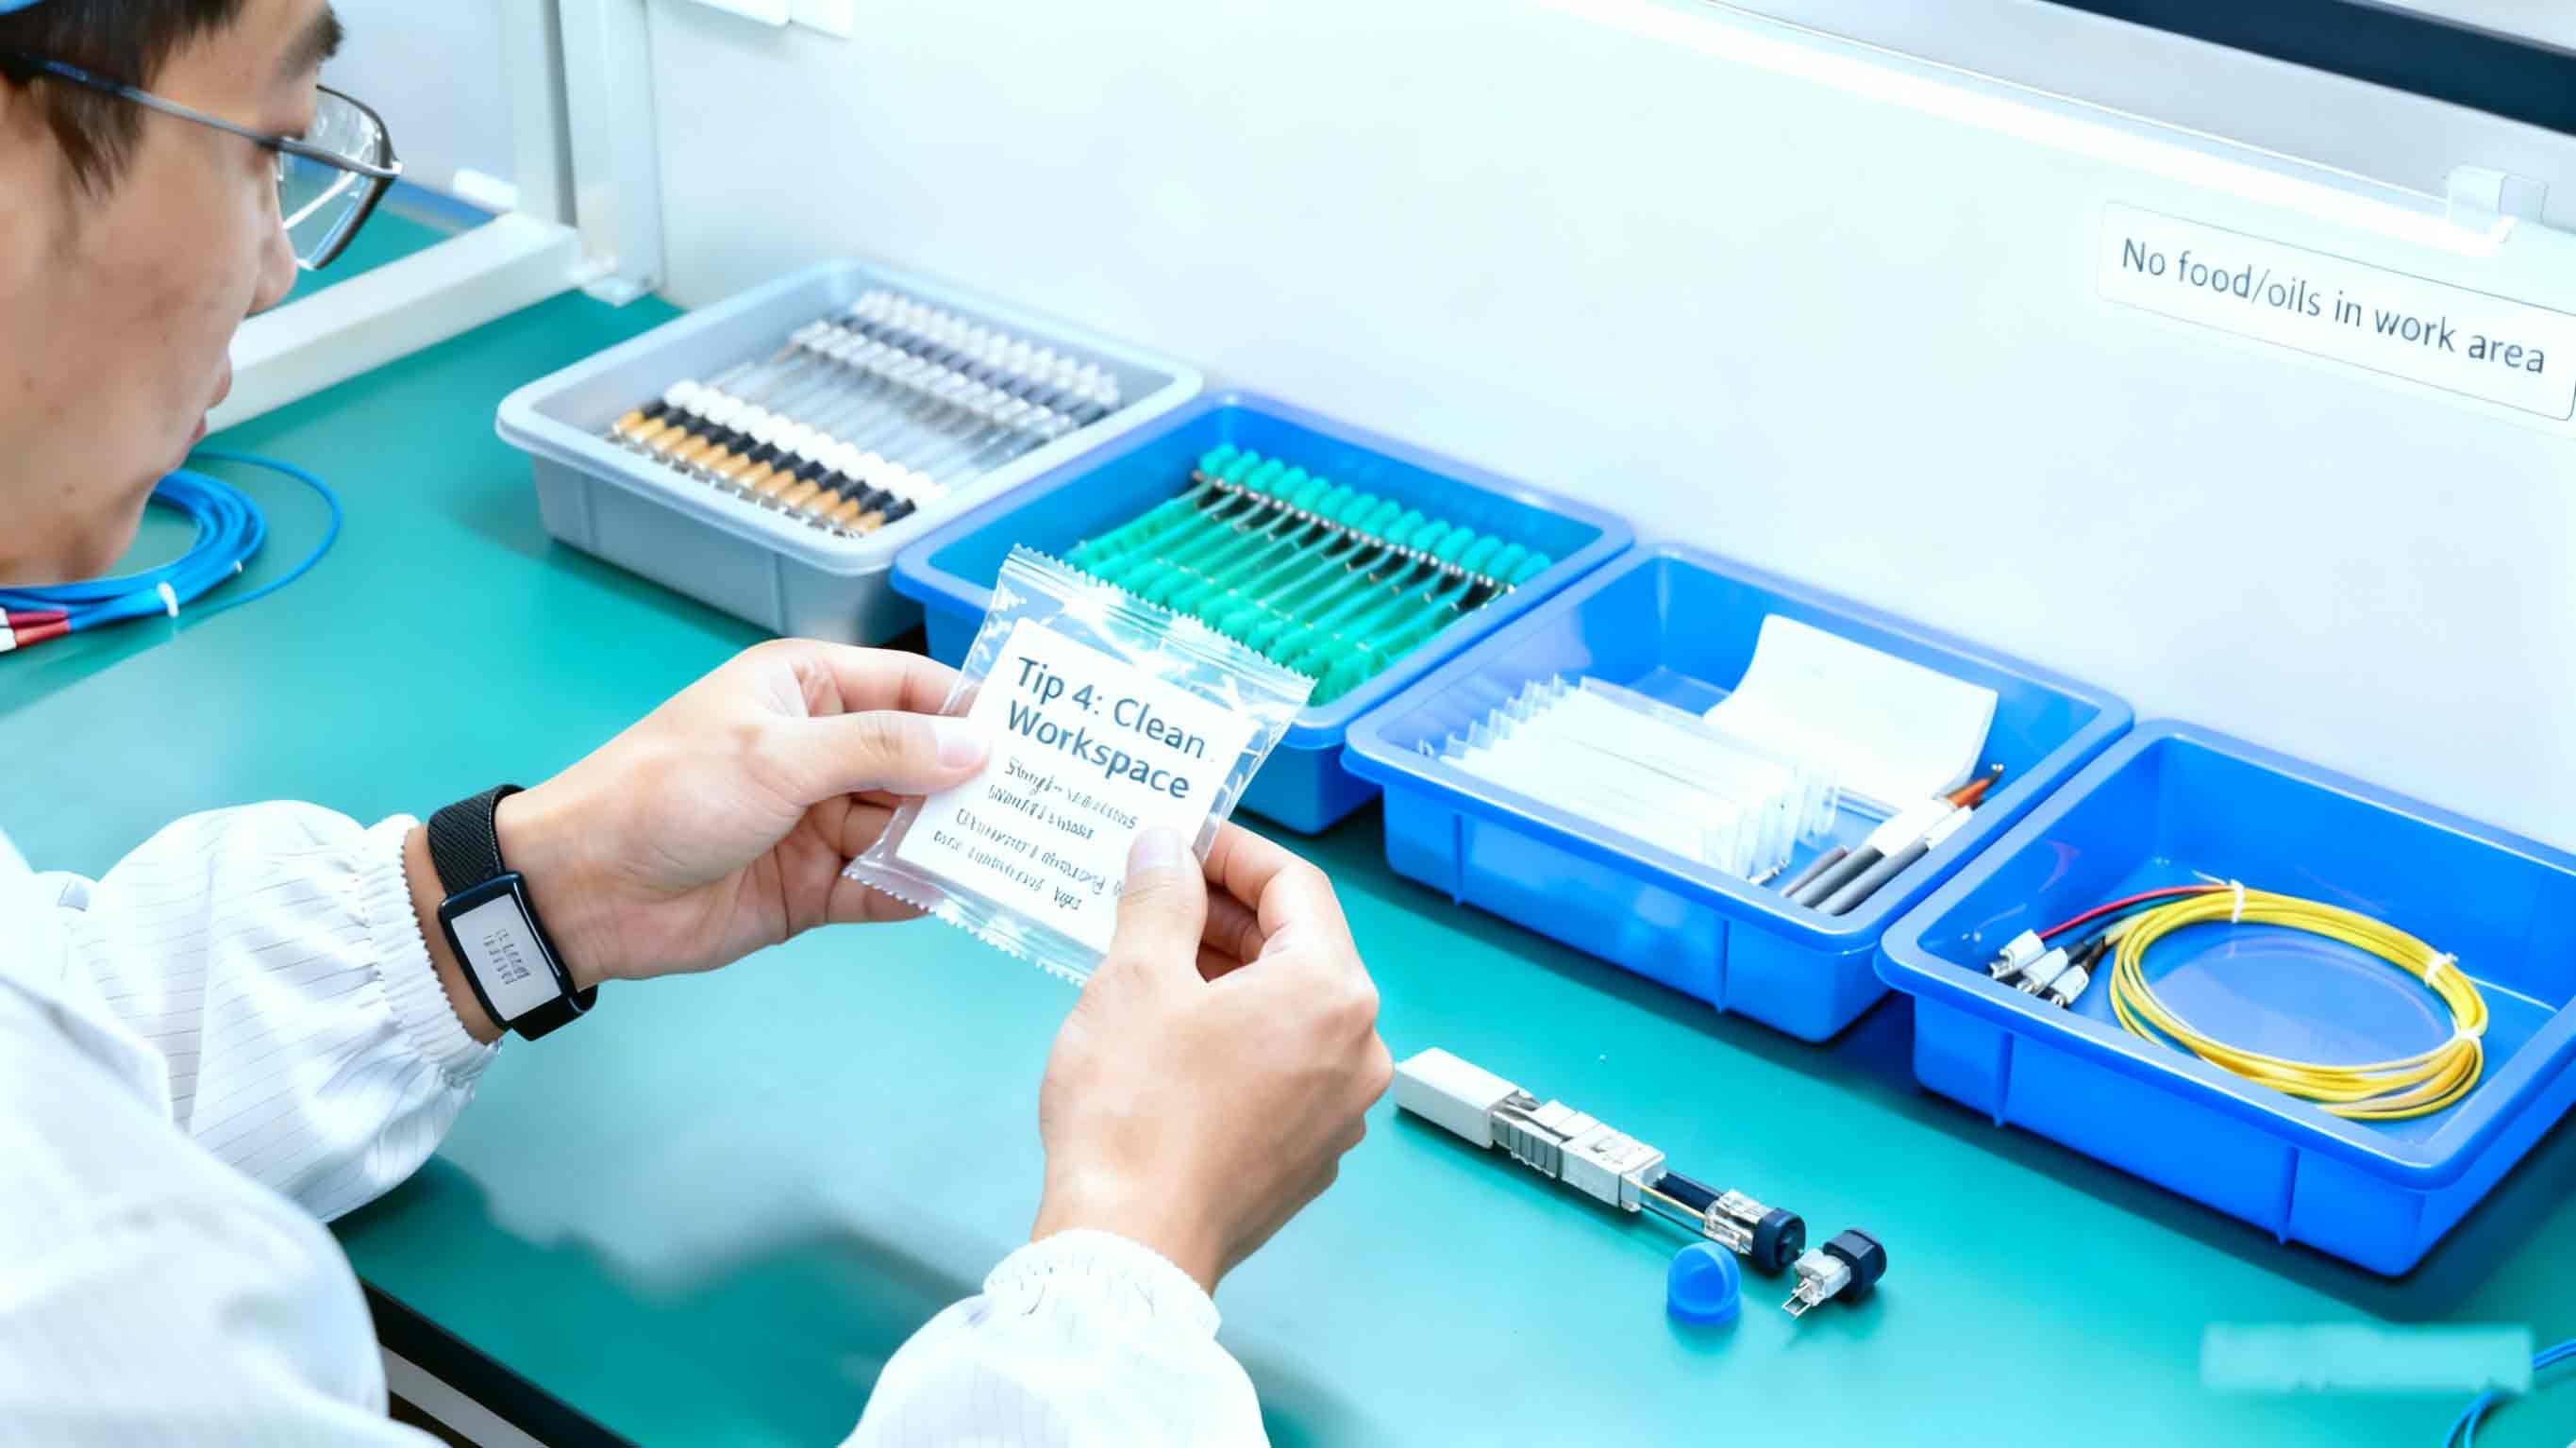
Tip 4 — Keep the work area strictly clean
A tidy, dust-free workspace reduces contamination incidents dramatically.
Good habits
1.Use optical-grade wipes and solvents. Never use household cloths or canned air.
2.Adopt a single-use policy for wipes/swabs. Dispose immediately.
3.Wipe work surfaces, keep food/oils out of the area, and control humidity where practical.
4.Designate cleaning kits per connector type to avoid cross-contamination.
Tip 5 — Minimize connector handling
Every touch risks oil and particles — limit handling to what’s strictly necessary.
Practical rules
1.Keep dust caps on until the moment you connect.
2.Grasp the cable jacket or boot — never the ferrule.
3.Use slim profile tools for dense racks.
4.Retract caps only when ready; replace immediately after disconnecting.
Tip 6 — Inspect, clean, and re-inspect both ends every time
A complete workflow on both mate-ends prevents cross-contamination and ensures reliable connections.
Workflow
1.Inspect both ends → document findings.
2.Clean the dirtiest side first (per the selected method).
3.Re-inspect both ends; if either end fails, repeat or replace.
4.Only mate once both ends meet pass criteria.
Why both ends
A single particle transferred from one end to another can cause significant loss or intermittent behavior on high-speed trunks.
Tip 7 — Document every inspection & cleaning
Logging creates an auditable trail, enables trend analysis, and speeds troubleshooting.
Minimum fields to record
1.Date & time, connector ID, exact location (panel/port), inspector name/ID.
2.Tools/methods used (cassette, click-cleaner, wet/dry).
3.Pre-clean condition, post-clean result (pass/fail).
4.Actions taken (re-clean, replace) and attached before/after images (200×–400× recommended).
Integration
Link logs to your fiber asset management system. Use images for audits and warranty claims.
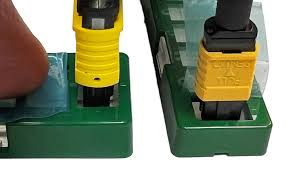
Follow the inspect → clean → re-inspect discipline and choose tools matched to your MPO type — you’ll reduce outages, extend connector life, and lower troubleshooting time.