Network diagnostics shouldn’t always require two technicians or complex remote setups. Whether you are validating a new deployment or troubleshooting a dead port, the loopback cable is one of the most efficient tools in a network engineer’s kit.
This guide explains what loopback cables are, the different types available, and how to perform loopback tests to isolate hardware issues fast.
What Are Loopback Cables?
A loopback cable (or
) is a diagnostic tool used to test the physical ports of network devices.
The concept is simple: it redirects the outgoing signal from a device’s transmit (Tx) pin directly back to its receive (Rx) pin. This creates a closed circuit. If the device receives its own signal successfully, you know the physical port and the internal hardware are functioning correctly.
This allows you to verify switches, routers, NICs, and transceivers without needing an external network connection or a second device at the far end.
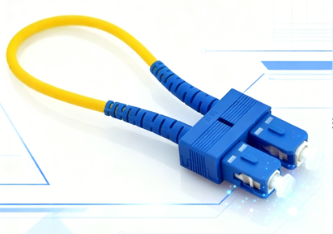
Hardware vs. Software Loopback
Hardware Loopback: Uses a physical plug to bridge pins. It tests the actual physical connector and the transceiver.
Software Loopback: configured via firmware/OS to simulate a loop. It tests the internal logic but cannot verify if the physical port pins are damaged.
Common Types of Loopback Adapters
Different interfaces require specific loopback plugs. Mixing them up (especially with fiber) can lead to false failures or hardware damage.
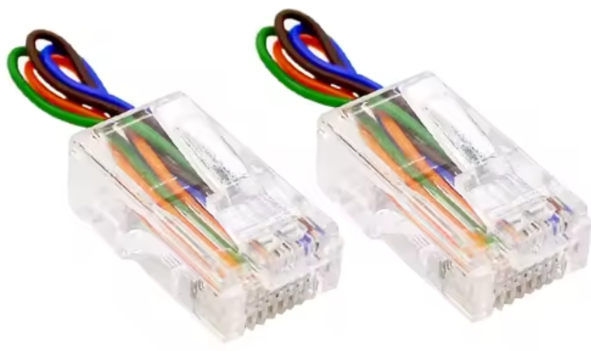
1. RJ45 Ethernet Loopback
Used for testing copper ports on switches and routers.
Compatibility: 10BASE-T, 100BASE-TX, and 1000BASE-T (Gigabit).
Use Case: verifying NICs and switch ports, checking for bent pins.
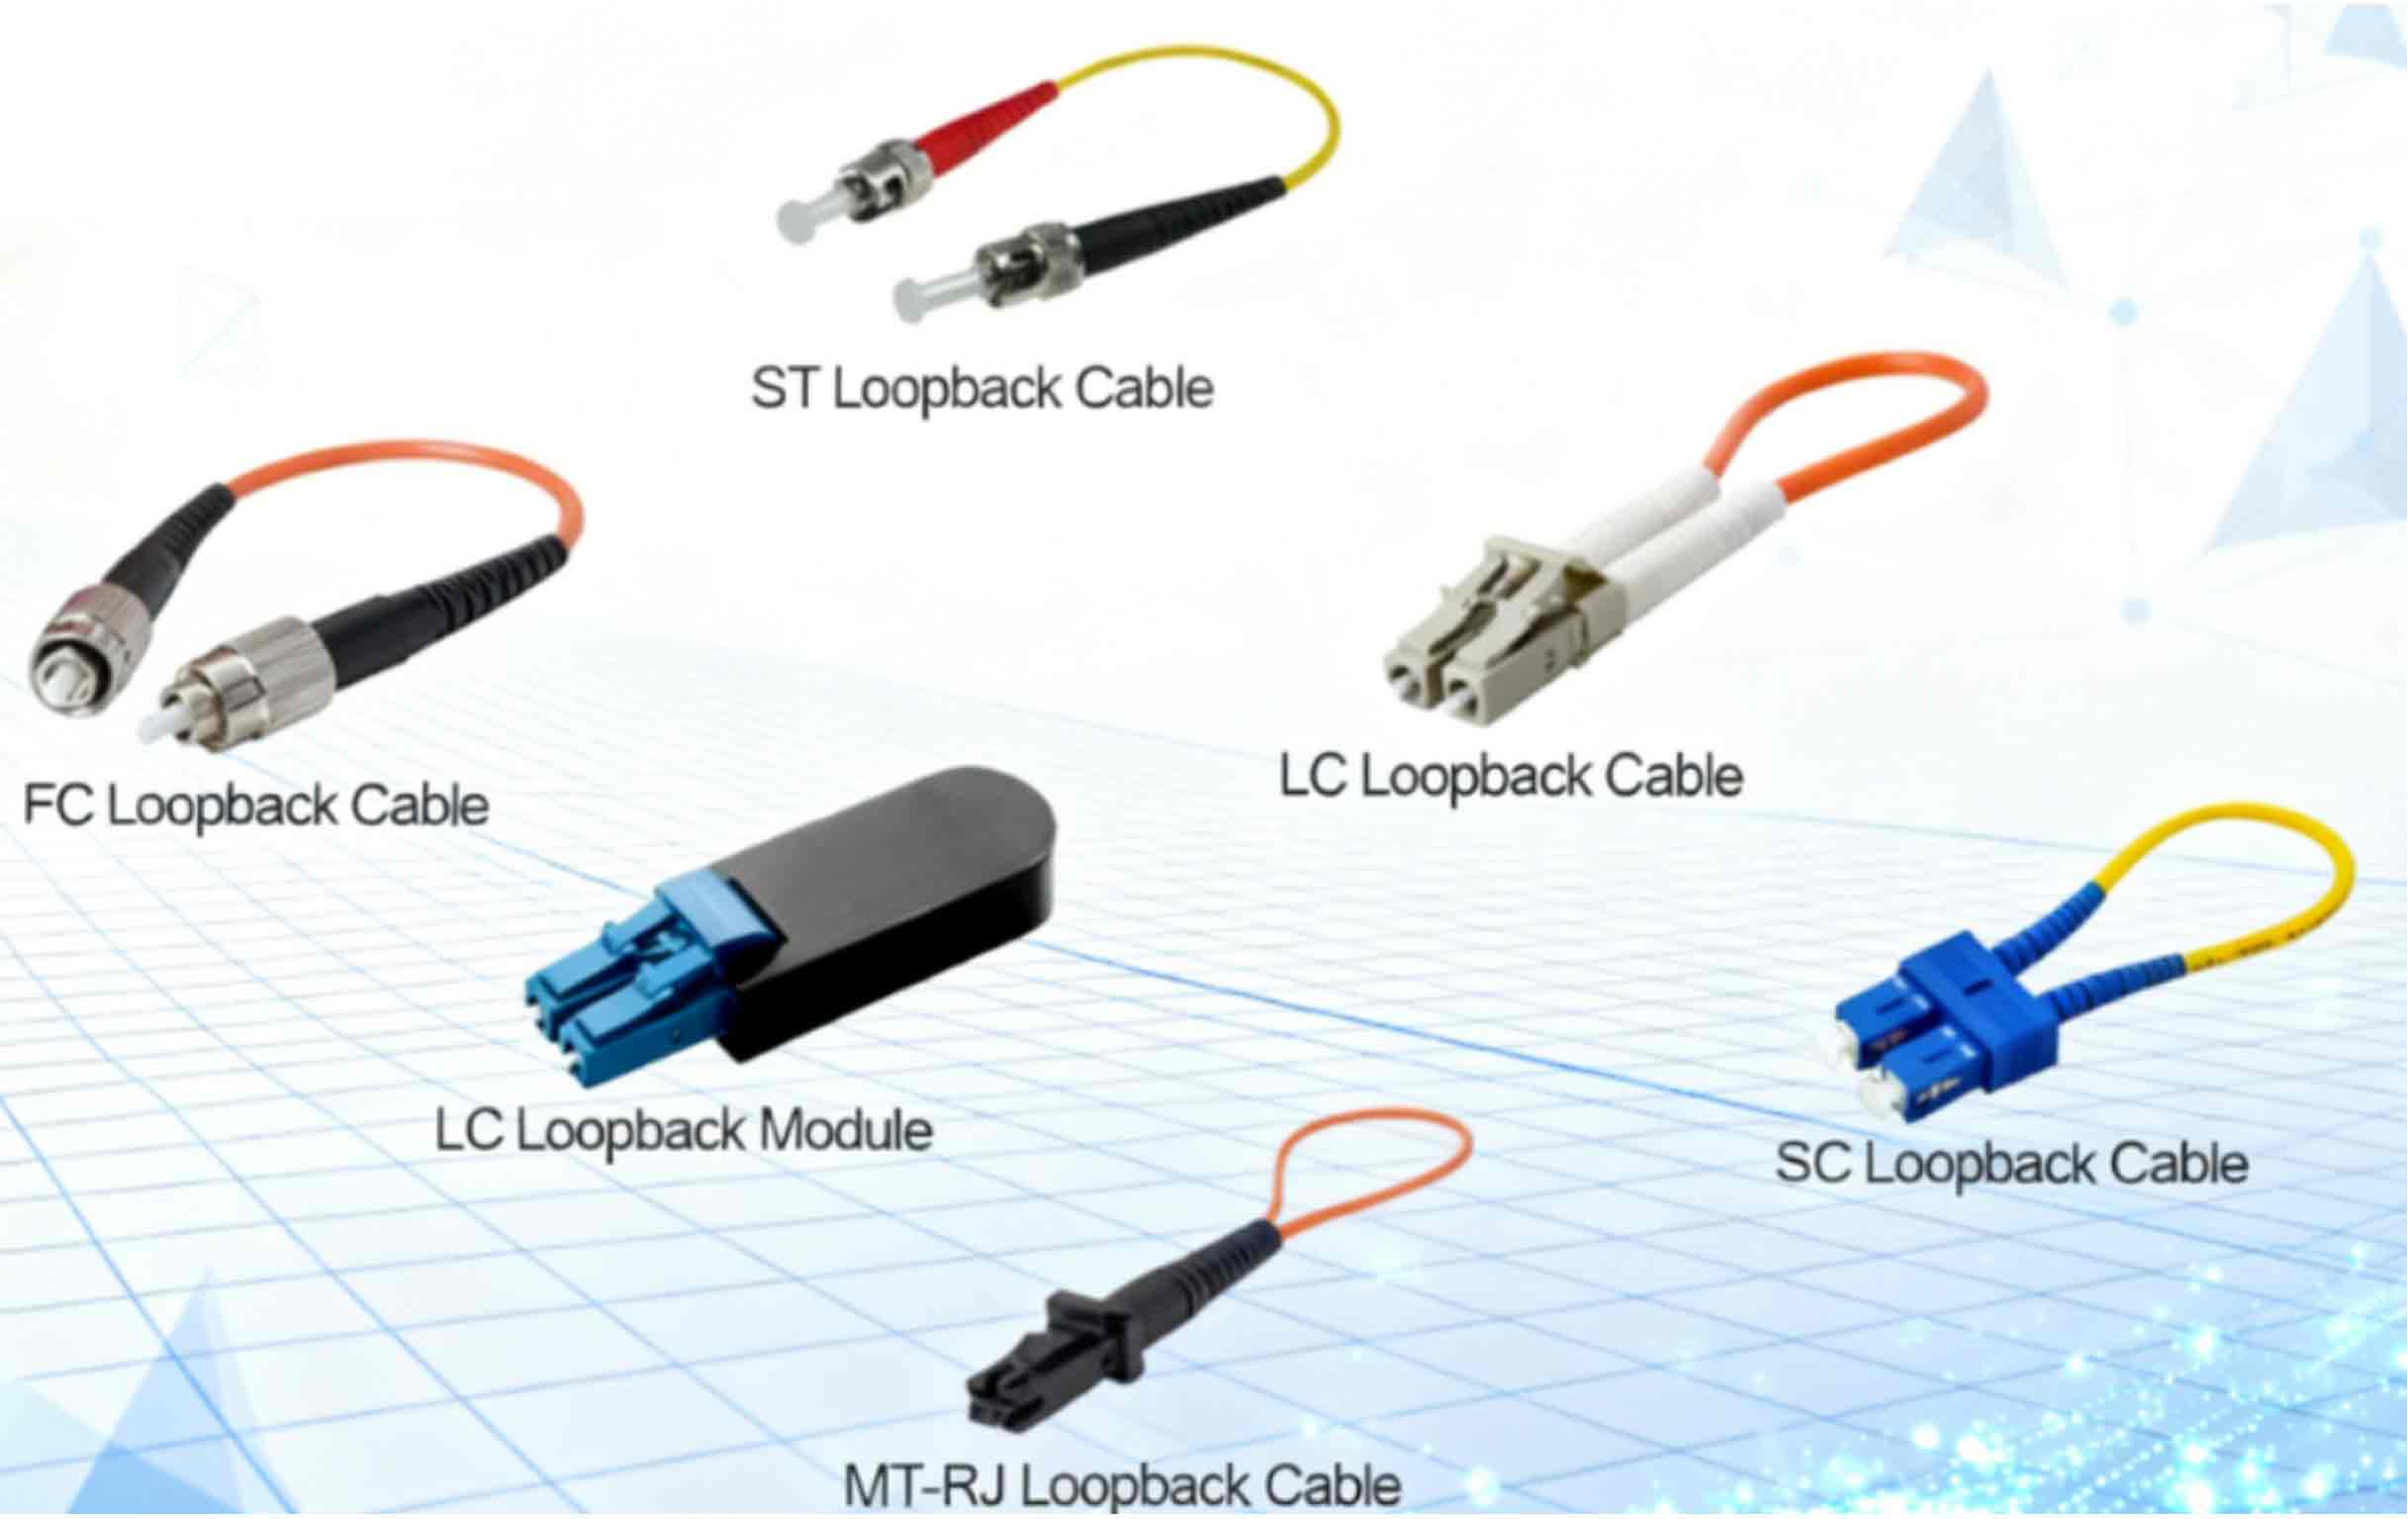
2. Fiber Optic Loopback
Used to test SFP/SFP+ transceivers and fiber runs.
Connectors: LC, SC, and MPO.
Critical Note: You must match the fiber mode. Use Single-mode (yellow) cables for single-mode ports and Multimode (aqua/orange) for multimode ports.
3. Serial and Legacy Loopback
DB9/RS-232: Essential for testing serial communication on industrial equipment and older routers.
USB Loopback: Used to troubleshoot USB host controllers (Type-A, Type-C).
BNC: Used for legacy coaxial networks and specialized video gear.
Step-by-Step: How to Run a Loopback Test
Testing is a process of elimination. Follow this workflow to isolate the fault.
Step 1: Physical Connection
Insert the loopback plug into the port you suspect is faulty.
For Fiber: Ensure the Tx strand is connected to the Rx strand (usually pre-configured in molded loopback plugs).
For Copper: Simply click the RJ45 plug in.
Step 2: Verify Link Status
Check the LED indicators on the hardware. You should see a solid “Link Up” light.
Cisco Command: show interface [interface_id]
Expected Output: line protocol is up (looped)
Step 3: Run Diagnostic Commands
The most reliable test is a standard Ping command sending packets to the device’s own IP address or the loopback interface.
Recommended Test Parameters:
Count: 50 packets
Size: 1500 bytes (Tests MTU handling)
Pattern: 0x0000 (All zeros)
Step 4: Analyze Metrics
A healthy port will return:
Packet Loss: 0%
Latency: Consistent min/avg/max (e.g., 4ms/4ms/4ms). Spikes indicate processing issues.
Errors: Zero CRC errors or runts.
Technical Reference: Loopback Pinouts
If you need to make your own emergency loopback plug, use these wiring configurations.
RJ45 Ethernet Pinout
|
Standard |
Pins Bridged |
Description |
|
Fast Ethernet (10/100) |
Pin 1 & 3 |
Tx+ to Rx+ |
|
Pin 2 & 6 |
Tx- to Rx- |
|
|
Gigabit Ethernet (1000) |
Pins 1-3, 2-6 |
Main Tx/Rx Pairs |
|
Pin 4 & 7 |
Bi-directional Pair A |
|
|
Pin 5 & 8 |
Bi-directional Pair B |
DB9 Serial (RS-232) Pinout
Data: Pin 2 (RXD) connected to Pin 3 (TXD).
Handshake: Pin 7 (RTS) connected to Pin 8 (CTS).
Control: Pin 4 (DTR) connected to Pin 6 (DSR) and Pin 1 (CD).
Troubleshooting: Interpreting Failures
If your loopback test fails, use these metrics to determine the cause:
1.”Line Protocol Down”: The device does not see the loop.
-
Cause: Broken physical port pins, wrong cable type (Single-mode vs Multimode), or a bad loopback plug.
2.Intermittent Packet Loss: The link is up, but data is dropping.
-
Cause: Dirty fiber end-faces (clean your connectors!), loose connection, or electrical interference.
3.High Bit Error Rate (BER):
-
Cause: transceiver laser degradation. If the optical power (dBm) is outside the manufacturer’s spec, replace the transceiver.
Best Practices
-
Distance Limits: Fiber loopback tests are generally accurate up to 20km. Beyond this, use bi-directional OTDR testing.
-
Attenuation: When testing high-power long-range fiber optics (40km+), use an attenuator. Looping a powerful long-range signal directly back into a receiver can burn out the sensor.
Need to verify your network integrity?
Loopback plugs are the fastest way to rule out hardware failures. Start by checking your physical layer—if the port can’t talk to itself, it can’t talk to the network.
Ready to troubleshoot physical layer faults faster and more reliably? Contact us to get professional loopback plugs, fiber loopback adapters, and port cleaning kits, along with one-on-one testing guidance and sample demonstrations.
The engineering team at Wolong can provide scenario-specific test checklists and configuration recommendations, helping you locate and resolve port or Transceiver issues within minutes to restore network stability. Contact Us now to start eliminating faults from the physical layer quickly.