When a network link fails, the transceiver (SFP/SFP+/QSFP/etc.) is often a suspect. This article compares practical, industry-standard ways to verify whether a transceiver is working — from the fastest visual checks to lab-grade measurements — so you can pick the right test for your skill level, equipment and required confidence.

Quick visual and link-level checks (fast, no tools)
What you do
Check the port/link LEDs on the switch, router or NIC. A steady or blinking link LED usually indicates the port is up and the Transceiver has basic electrical/optical activity.
Swap the transceiver into a known-good port or replace the fiber/patchcord with a tested cable to isolate cable vs module.
Pros
Instant, zero-cost, and often sufficient to rule out obvious failures.
Cons
LEDs only indicate link status, not optical health or correct power/wavelength. A misleading LED (fabricated by some switches or non-standard modules) can hide failing optical parameters.
When to use: first step for any troubleshooting; do this before escalating to diagnostics.
Built-in digital diagnostics (DDM / DOM) — software readout (precise, low effort)
What you do
-
Query the transceiver’s diagnostic registers (temperature, Vcc, Tx power, Rx power, bias current) using platform tools: ethtool -m on Linux, or switch CLI commands such as show interface transceiver / show module on network vendors that expose DOM/DDM. These follow the SFF-8472 mapping.
Pros
Fast and provides quantitative values (dBm, mA, °C). Good for remote diagnostics and trend-based alarms.
No physical disconnection required.
Cons
Only available if the transceiver supports DDM and the host/OS exposes it. Some cheap optics or proprietary vendor lockouts may not provide full DDM data.
DDM reports internal readings — they still require interpretation (e.g., Rx power below spec could be cable loss or bad remote Tx).
When to use: after visual checks, whenever you have host access and want objective numbers quickly.
Loopback tests (functional, inexpensive)
What you do
-
Insert a loopback module (electrical or optical) or loop a short fiber from Tx to Rx on the same port / device and test link negotiation or run a ping/traffic test. For optical, a dedicated loopback cable or LC loop will do. Step-by-step loopback procedures are vendor-specific but conceptually the same.
Pros
Verifies the transceiver’s transmit and receive functions without needing a remote peer.
Inexpensive — requires only a loopback plug or short patch cable.
Cons
Confirms local Tx/Rx but not end-to-end link behavior (doesn’t test remote transceiver or fiber plant).
Long-reach modules may need attenuators when looping to avoid saturating the receiver.
When to use: to confirm a transceiver can physically send and receive light when a remote peer is not available.
Bit Error Rate Test (BERT) and lab testers (highest confidence)
What you do
Use a BERT or integrated module tester to send known patterns and measure errors over time; these testers often include BER, jitter, and sensitivity tests. Lab testers can emulate line rates, modulation types (NRZ/PAM4), and give a final pass/fail per system specifications.
Pros
The gold standard for verifying transceiver performance under load and at target data rates.
Detects subtle impairments not visible in power or DDM readings.
Cons
Requires professional test equipment and expertise.
Overkill for everyday field troubleshooting.
When to use: production acceptance, supplier verification, or when intermittent errors persist after all other checks.
Non-contact fiber testers and pocket tools (fast field check)
What you do
Use a pocket live-fiber detector (e.g., FiberLert or similar) to confirm presence of light without touching connectors; visual fault locators (VFL) can also show continuity on multimode fibers. These tools quickly separate “no light” issues from protocol problems.
Pros
Cheap, fast, non-invasive, and safe for quick field triage.
Cons
Only confirms presence/absence of light or gross continuity — not power level accuracy or BER.
When to use: quick field triage or to identify dark fibers before deeper testing.
How to choose the right method — a short comparison
Speed / Cost sensitive: LED + cable swap → then loopback or pocket tester.
Remote device / need numbers: DDM via ethtool or vendor CLI.
Need objective optical data / acceptance: Optical power meter + light source.
Highest confidence / production: BERT/lab tester.
Short note on vendor/software differences
Not all switches expose the same diagnostic commands and not every third-party transceiver reports DDM identically. Always consult your platform’s CLI docs and the SFF-8472 mapping for interpreting EEPROM/DDM offsets.
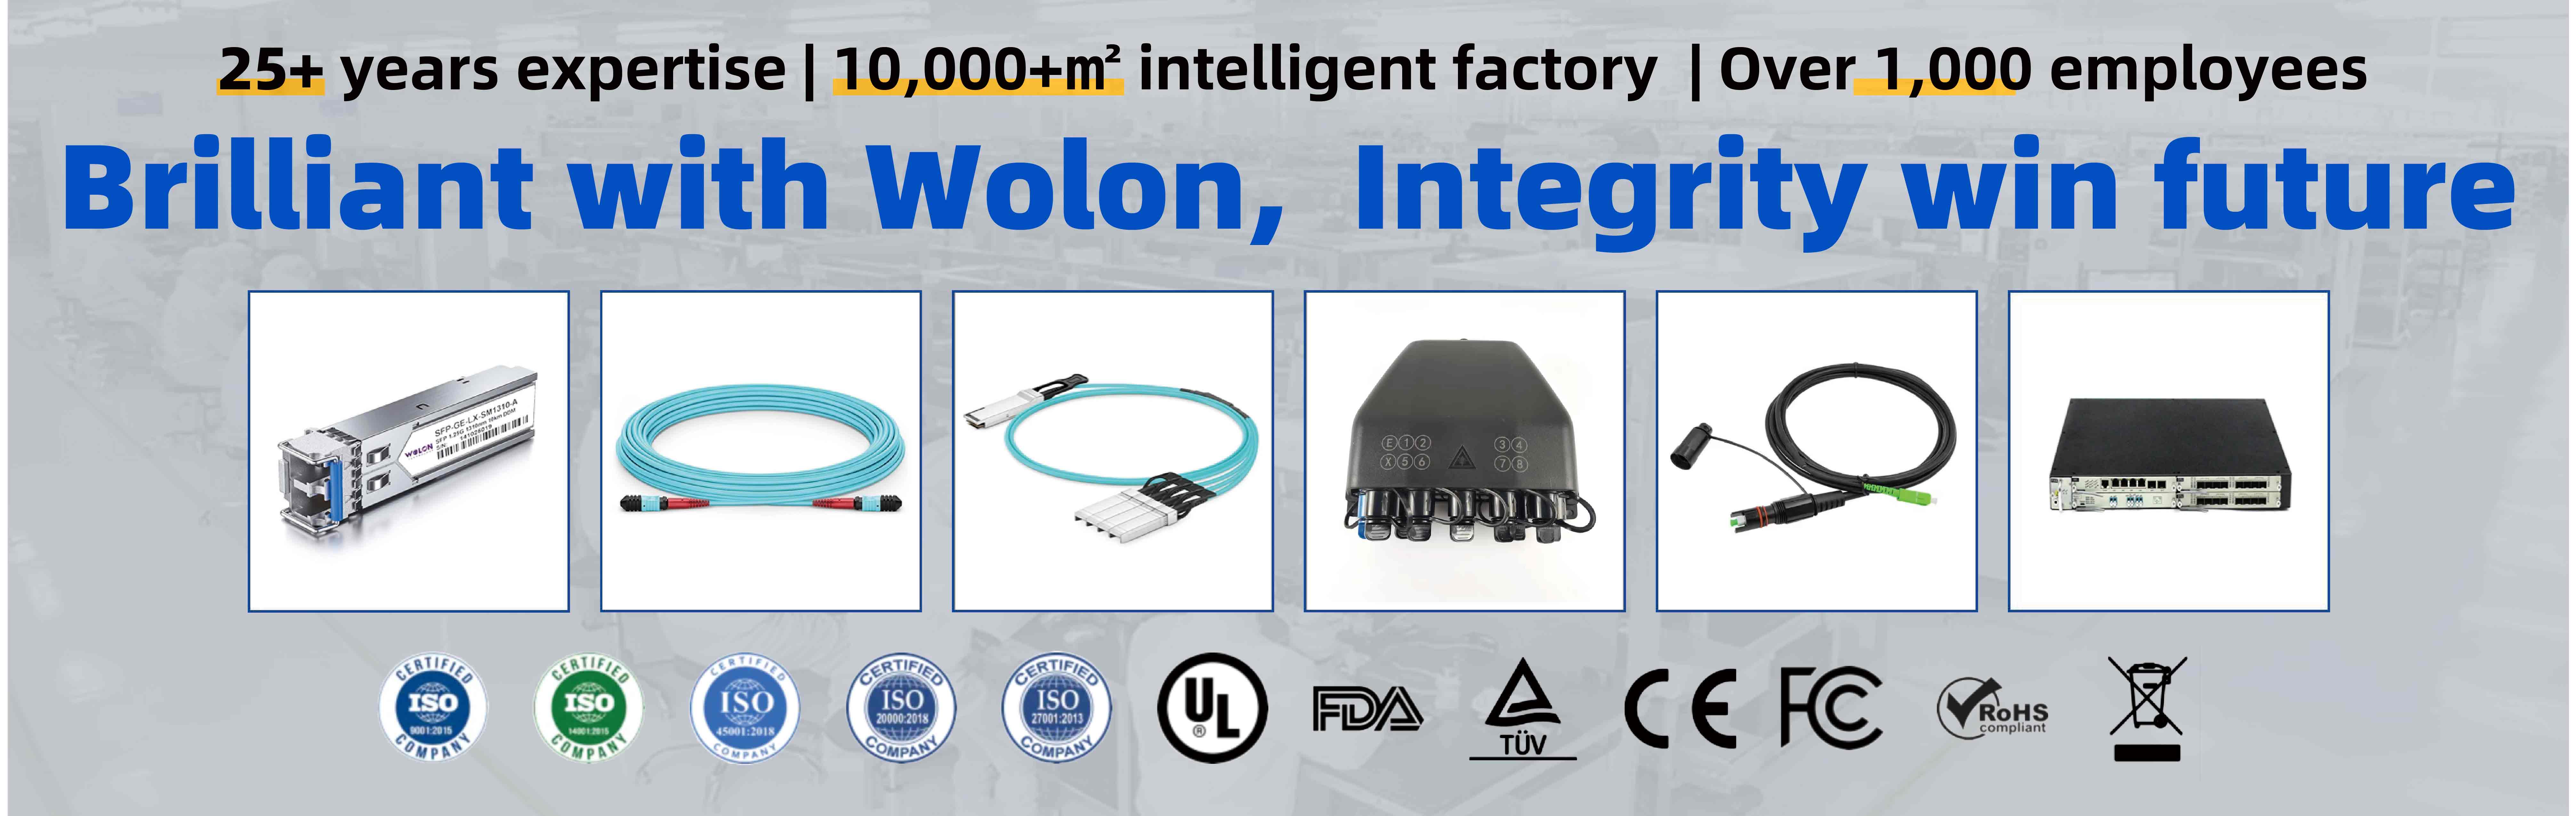
If you need reliable, cost-effective optical transceivers that support full digital diagnostics and consistent manufacturing QC, WOLON’s optical module series offers competitively priced SFP / SFP+ / QSFP variants with DOM/DDM support and factory test reports. For field engineers who depend on accurate ethtool/CLI readings and repeatable optical power, choosing modules that implement SFF-8472 properly reduces troubleshooting time and lowers total network cost of ownership. Contact WOLON for sample test reports and volume pricing.