Direct-Attach Copper (DAC) twinax assemblies are the simplest, lowest-latency way to interconnect switches, servers and storage inside racks and across short spans. But they’re also physical objects with electrical and mechanical limits — installed poorly they fail fast or take ports down with them. This guide explains, clearly and practically, how to install Dac Cable and how to handle twinax to maximize reliability, signal integrity and service life.
Quick overview
You’ll get:
-
Pre-install checks (compatibility, length, environmental specs)
-
ESD and cleanliness rules before you touch connectors
-
Safe insertion and removal steps for SFP+/SFP28, QSFP+/QSFP28 and QSFP-DD-style plugs
-
Routing, bend radius, strain relief and airflow best practices
-
Basic testing and maintenance to catch problems fast
All recommendations below reflect vendor guidance and datasheet limits for modern DAC/twinax assemblies.

Pre-installation checklist
Before you install, confirm:
-
Port form-factor and lane speed match the cable (SFP+/SFP28, QSFP+/QSFP28, QSFP-DD). Inserting mismatched form factors or speeds can be destructive.
-
Cable length and type suit your application — passive twinax is fine for very short links; active DAC or AOC may be needed at longer short-reach distances. Check the manufacturer’s datasheet for maximum supported link length and operating temperature.
-
Inspect packaging: retain dust caps until the moment of installation and inspect connector faces for debris or damage. Never leave exposed transceivers or cable ends uncovered except during the actual insertion.
ESD and cleanliness — don’t shortcut this
Make ESD protection standard procedure. Wear an ESD wrist strap or ensure you’re tied into an ESD grounding point before handling DAC connectors or transceivers. Avoid touching gold contacts or connector mating faces. Use dust caps when connectors are idle and keep connectors in their antistatic bags until use. These steps significantly reduce latent failures.
How to insert — step-by-step (SFP+/QSFP family)
A short, repeatable sequence minimizes accidents:
-
Remove dust caps from both ends just before insertion.
-
Hold the connector by its molded housing (never by the cable jacket or the delicate latch). For QSFP variants, grip the sides of the module frame.
-
Align squarely with the port and push straight in until you feel the latch click. Never force a connector that resists — check form-factor and orientation first.
-
Secure routing with cable management hardware (clips, trays) to avoid accidental tugs. Do not use excessive tie tension — the goal is restraint, not compression.
If you’re following a checklist and training technicians on How To Install DAC cable, rehearse this routine with powered-off test gear if possible; repetition reduces mistakes.
Removal — careful and deliberate
To remove, depress the release latch (or pull the extractor if supplied) and withdraw the connector in a straight, steady motion. Do not twist or bend while pulling; don’t yank from the cable — grip the connector housing. Count removal/insertion cycles if your shop tracks module lifetimes; many assemblies and ports are rated for a finite number of cycles.
Routing, bend radius and mechanical limits
One of the most-broken rules is bending twinax too tightly. Datasheets specify minimum bend radius relative to cable OD (examples range by AWG and design; typical values are 10× the cable OD or specific mm figures in vendor sheets). For example, modern QSFP-class DAC datasheets list explicit minimum bend radii and test criteria — follow them exactly rather than guessing. A safe practice: keep bends gentle, use proper cable managers, and avoid routing under heavy equipment or across sharp edges.
Practical tips:
-
Use slack loops sized to the manufacturer’s minimum bend radius.
-
Avoid stacking bundles of twinax on top of each other in dense bundles where heat and mechanical stress add up.
-
Route copper and power cables separately when possible to minimize EMI interactions.
Thermal and environmental considerations
DAC assemblies have rated operating ranges (commercial and extended). Avoid placing twinax near hot exhausts or obstructing cooling paths inside racks — poor airflow shortens both cable and port lifetimes. Follow rack layout guidance to preserve front-to-rear airflow and keep cables out of fan inlets.
Mechanical strain relief and labeling
Strain relief prevents tugging forces from transferring into the connector body or PCB. Use cable managers and Velcro ties (not zip ties tightened to crush jackets) and anchor cables at both device and rack levels. Label both ends of the link with unique IDs and length — this speeds troubleshooting and reduces the chance of accidental disconnects.
Test and verify after install
After you’ve installed a link:
-
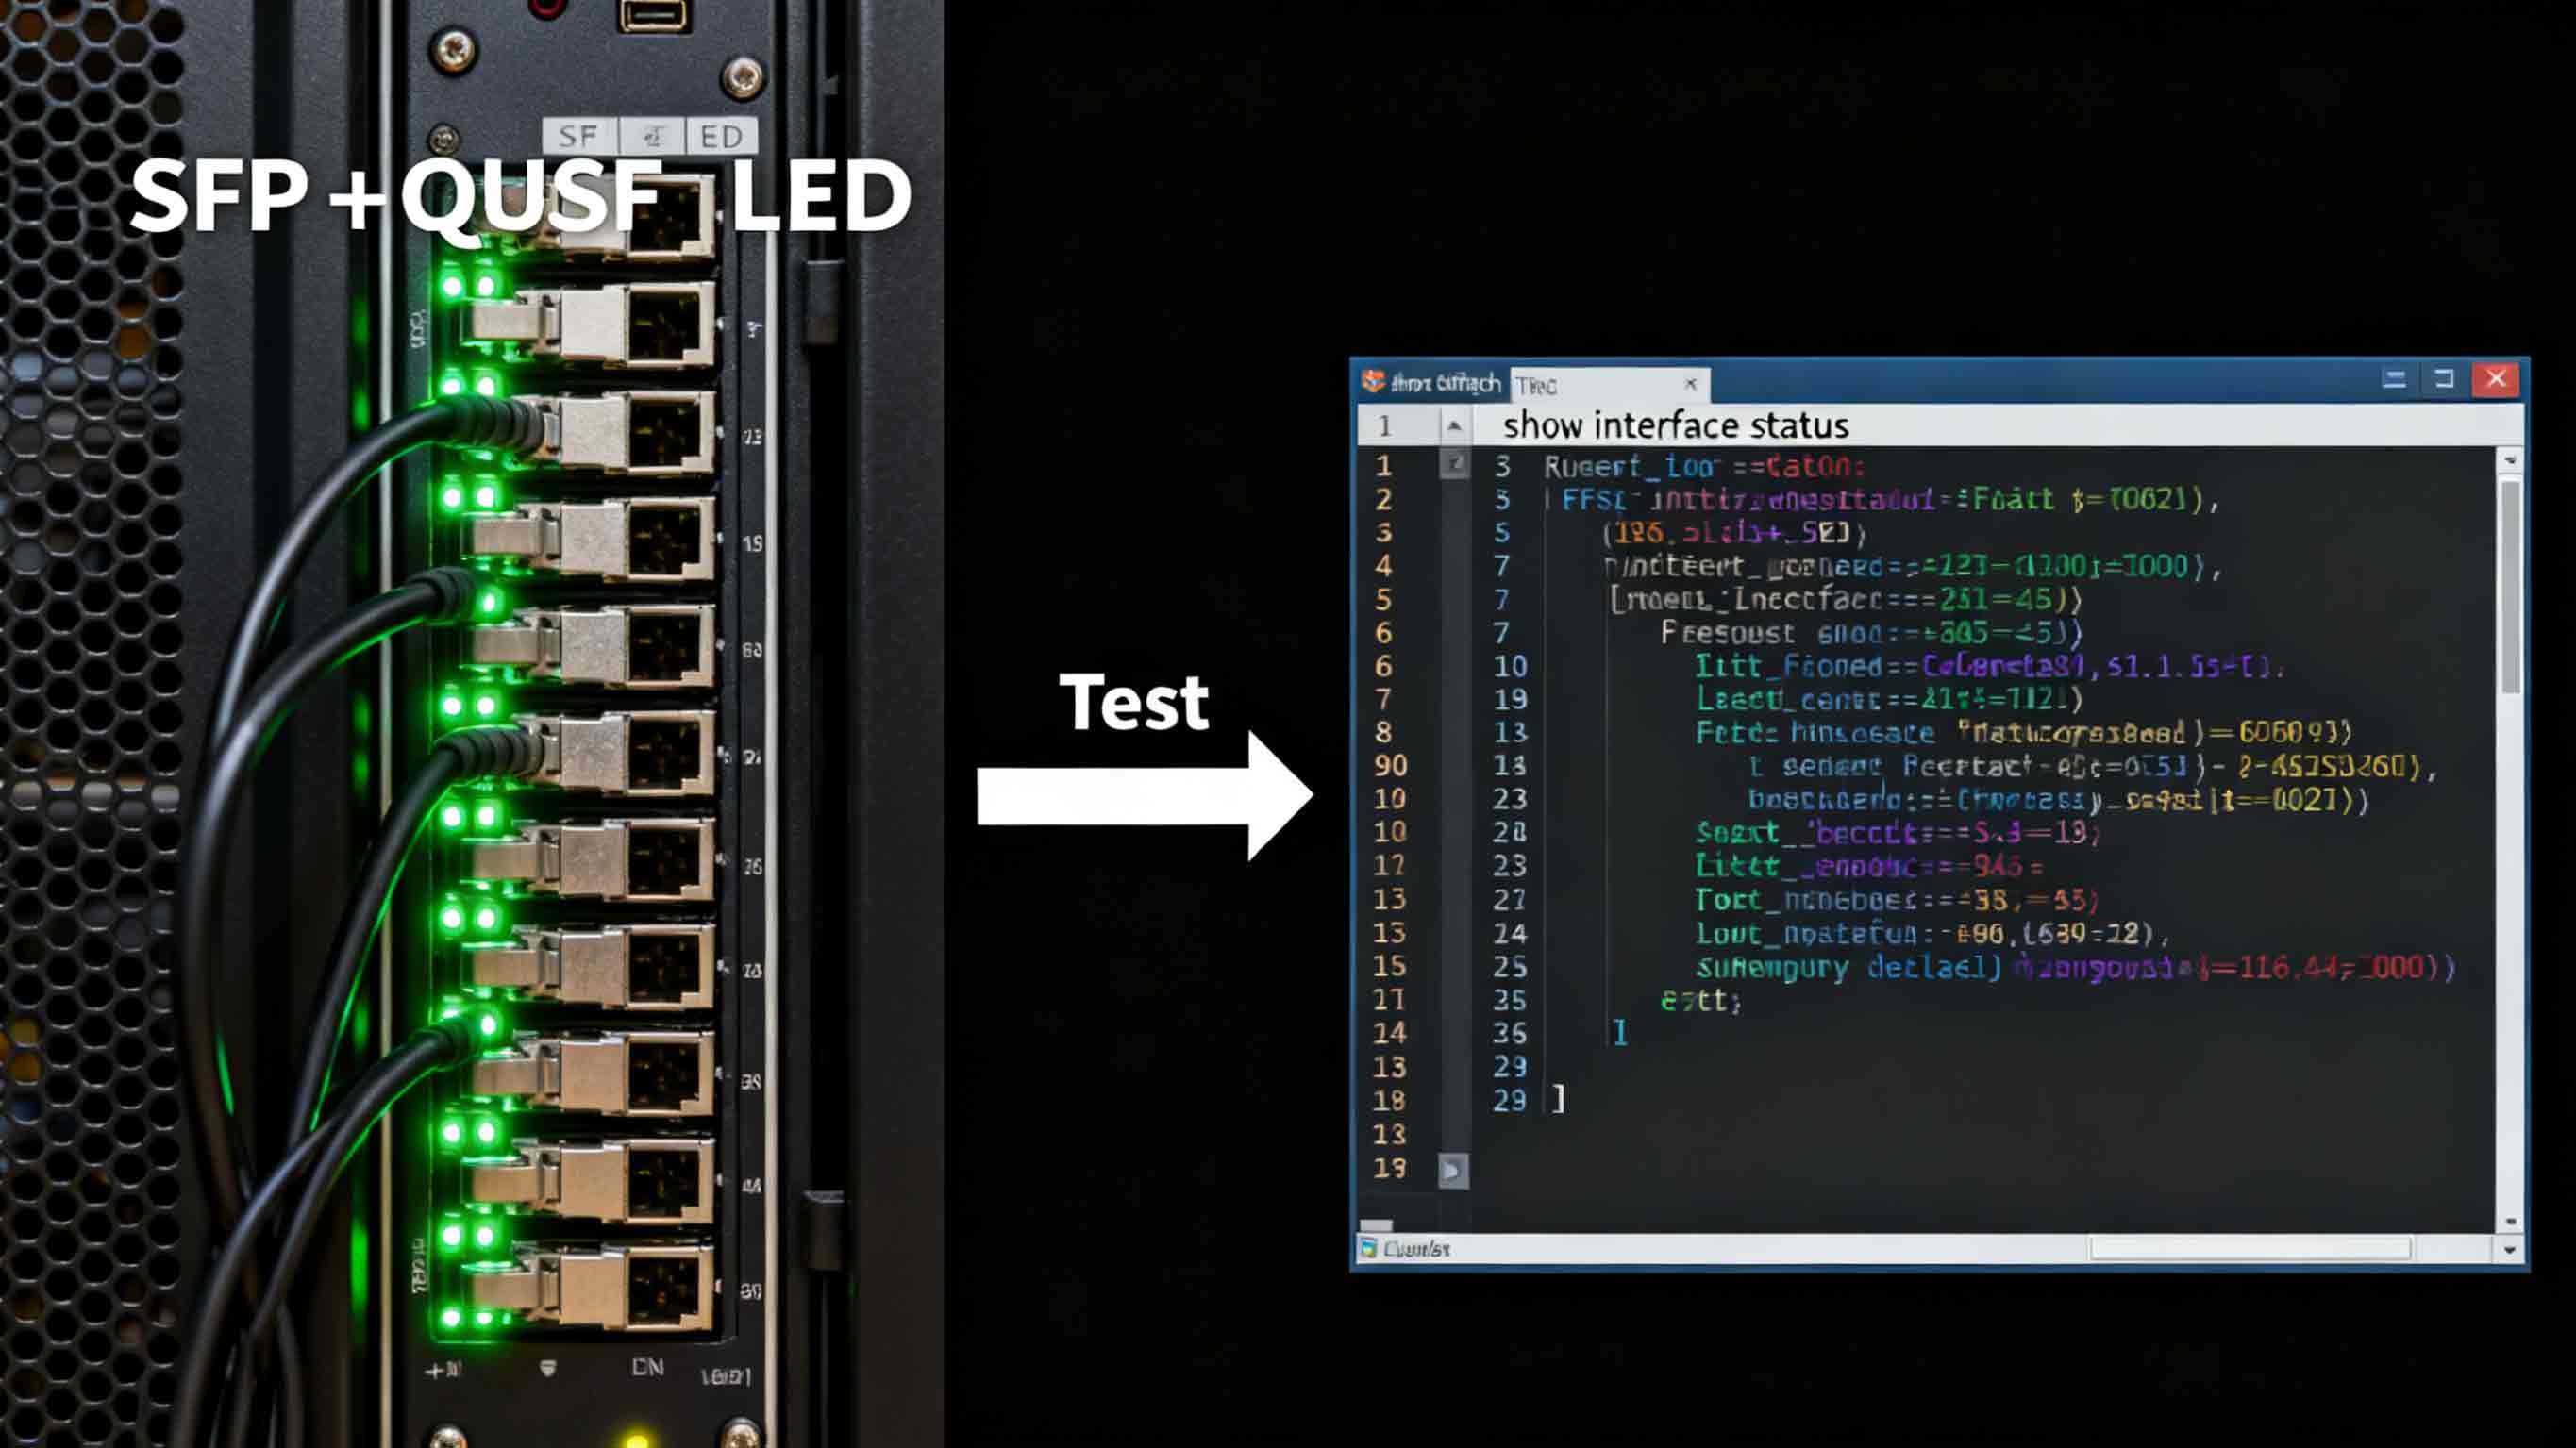
Verify physical layer status LEDs and run a basic link test (show interface status / diagnostics).
-
If available, run a continuity or built-in self test from the switch to confirm lane integrity. Passive twinax is generally deterministic, but early tests find loose seating, polarity issues or device incompatibility before users notice production impact.
Common mistakes to avoid
-
Using excessive force on insertion/removal.
-
Bending the cable tighter than the datasheet allows.
-
Leaving connectors uncovered for long periods in dusty environments.
-
Tying cables so tightly that jacket compression occurs (this can change impedance).
Closing summary
If you want reliable short-reach connectivity, learn and practice How To Install DAC Cable correctly: perform pre-checks, use ESD protection, respect bend radii and thermal limits, secure and label cables, and validate link operation immediately after install. These steps stop most field faults before they start. The authoritative vendor datasheets and platform installation guides should be your final source when decisions bend into the margins.
For teams that want factory-tested reliability, WOLON’s DAC cable portfolio offers SFP+/SFP28, QSFP+/QSFP28 and QSFP-DD twinax assemblies manufactured to MSA and SFF specifications. Each WOLON DAC cable is factory-verified for continuity, insertion cycle durability and minimum bend radius, supplied with dust caps and labeled for fast deployment in rack environments.

Contact WOLON for sample testing and datasheets tailored to your architecture.